

Creating a Specops Authentication Gatekeeper Server
If this is your first Gatekeeper:
Start by going to one of the 2 links below depending on your region:
https://login.specopssoft.com/Authentication/Admin for North America
https://eu.login.specopssoft.com/Authentication/admin for Europe
You will need to log in with your cloud account which will be username@domain.com.specopssoft.com. Please contact support if you need assistance with creating this account.
Then go to the “In the Admin portal” section.
If this is an additional Gatekeeper:
If you want to set up an additional gatekeeper, log on to the server with the Specops Authentication Gatekeeper Admin application and locate the Admin pages and Reporting Readers url under Useful Links.
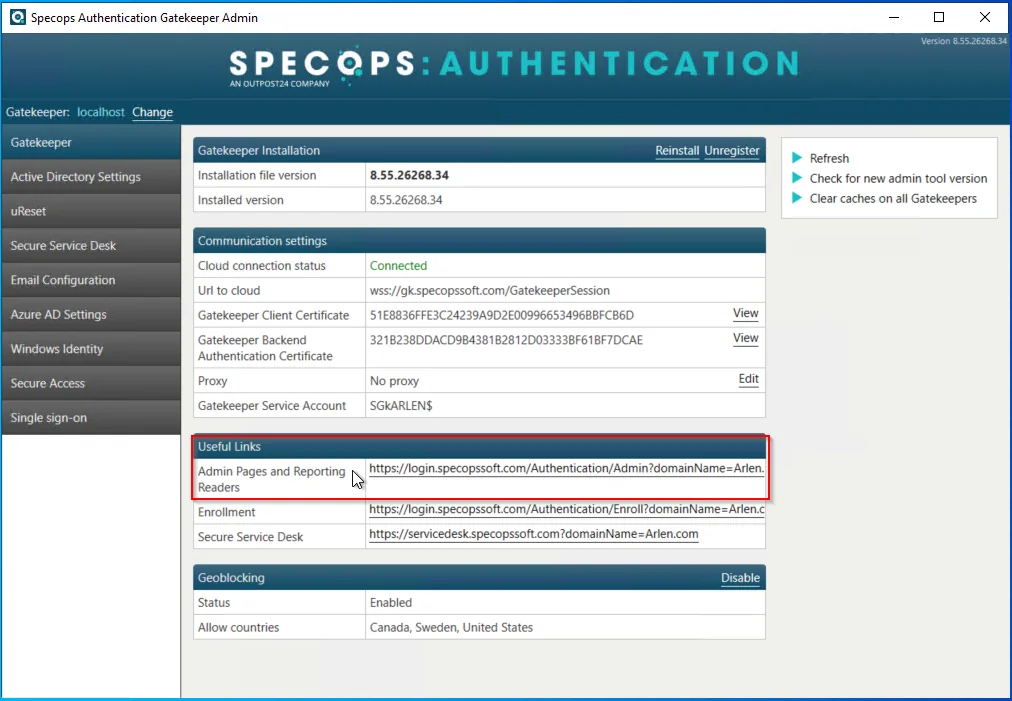
Copy the link and open it on the new server and log in using an account that is a member of the Specops Cloud Admins group.
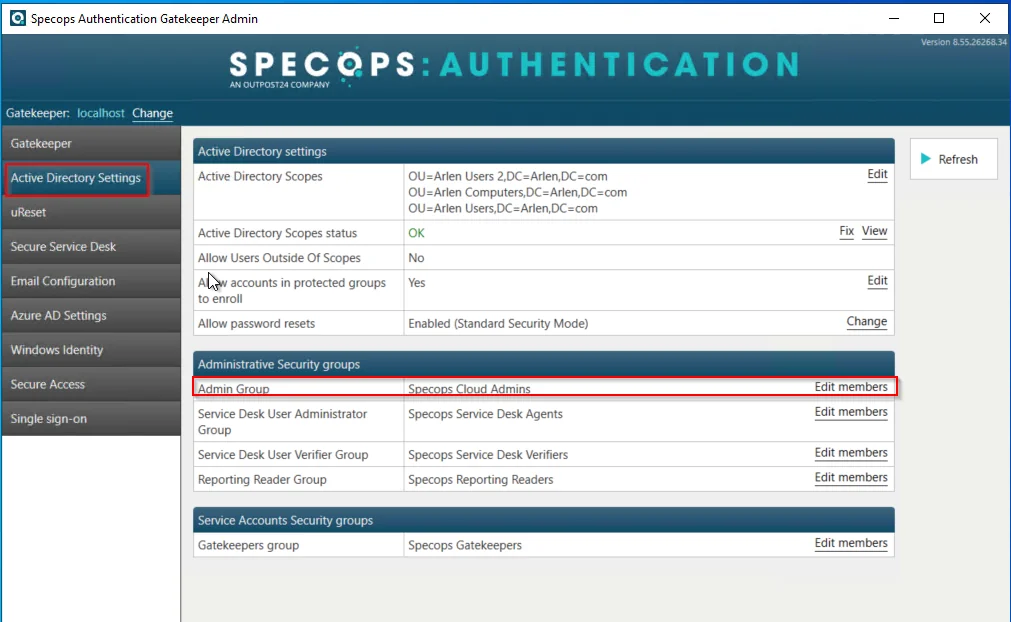
In the Admin Portal
Once logged into the admin portal, go to the Gatekeepers Tab and click New:

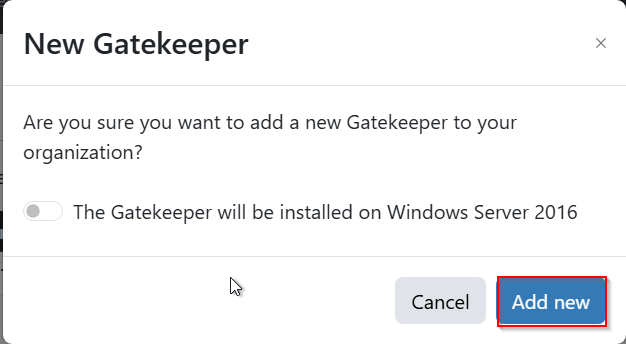
When asked: Are you sure you want to add a new Gatekeeper to your organization? Select Add New:
You will be brought to a new page to Download and install the Gatekeeper (Note: This must be done within 24 hours or you will need to add the new Gatekeeper again.) Please also make note to copy the activation code as this will be needed to complete the installation. If you close out of this by accident without copying the code, you will need to go back to Step 2.
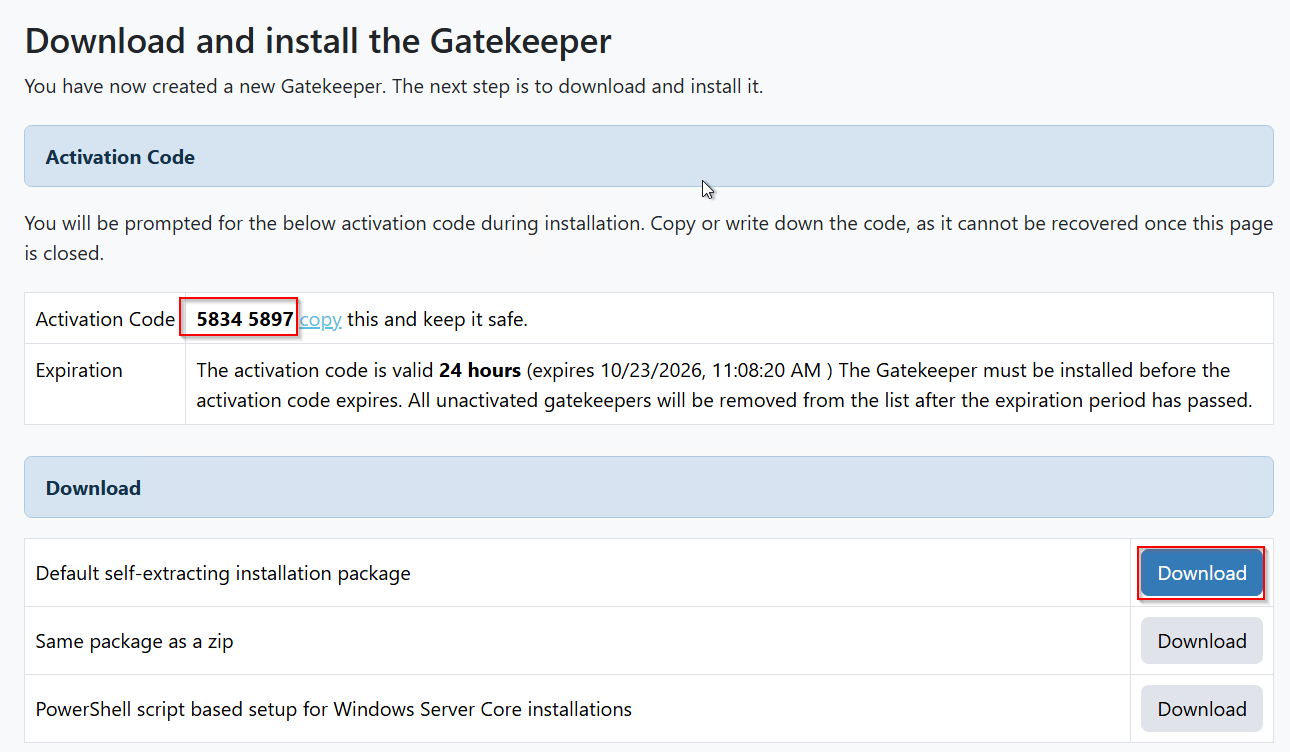
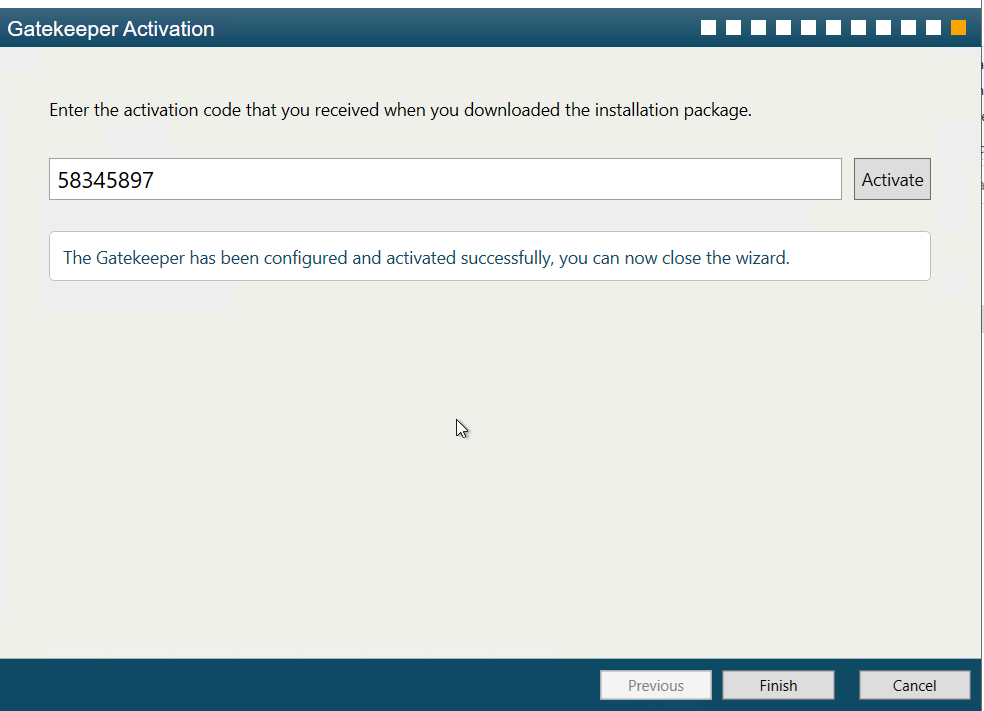
Refer to https://specopssoft.com/support/ureset-8/installation/ and begin at Install the Administration Tools. Remember to use a Group Managed Service Account (gMSA) instead of a regular msa. At the end of the process, you will be prompted for your activation Code. Once entered click activate and click Finish.
To remove the old gatekeeper completely
follow the instructions from this article: https://specopssoft.com/knowledge-base/specops-authentication/how-do-i-remove-an-old-gatekeeper/