
How to deploy Office 365 with Specops Deploy
Many customers have asked me how to deploy Office 365 so I’ve put together this how-to guide showing how to deploy the application Office 365 Click-to-Run with Specops Deploy App.
First you need to download Office 2016 deployment tool for Click-to-Run.
https://technet.microsoft.com/en-us/library/jj219422.aspx
Start the deployment tool and it will extract 2 files, one setup.exe file and one configuration.xml file.
Then create a folder on your file server called Office 365.
Edit your xml file, in my case I use this in our demo environment:
<Configuration>
<Add SourcePath="\\demo.local\dfs\Install\Microsoft\office365" OfficeClientEdition="32" Branch="Current">
<Product ID="O365ProPlusRetail">
<Language ID="en-us" />
</Product>
</Add>
<Display Level="None" AcceptEULA="TRUE" />
<Updates Enabled="TRUE" />
</Configuration>
You need to change the path to your Office 365 folder to suit your environment.
Then open up a command prompt as administrator and run this command:
Setup.exe /download configuration.xml
A new folder called office\data and files will appear in your Office 365 folder on your file share after 15-20 minutes or so.
Now we need to create 2 more xml files, they should be called Install.xml and Uninstall.xml and be placed on same place as the first configuration.xml and setup.exe was placed.
Install.xml:
<Configuration>
<Add OfficeClientEdition="32" Branch="Current">
<Product ID="O365ProPlusRetail">
<Language ID="en-us" />
</Product>
</Add>
<Display Level="None" AcceptEULA="TRUE" />
<Updates Enabled="TRUE" />
</Configuration>
Uninstall.xml:
<Configuration>
<Remove All="TRUE" />
</Configuration>
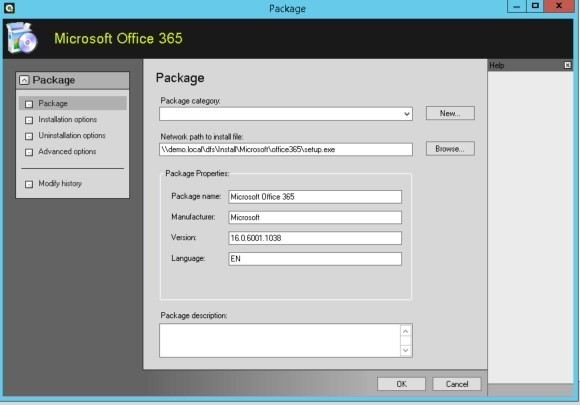
Now when the Installation is downloaded we can start building a package in Specops Deploy App Control Center.
Create the package as a legacy package.
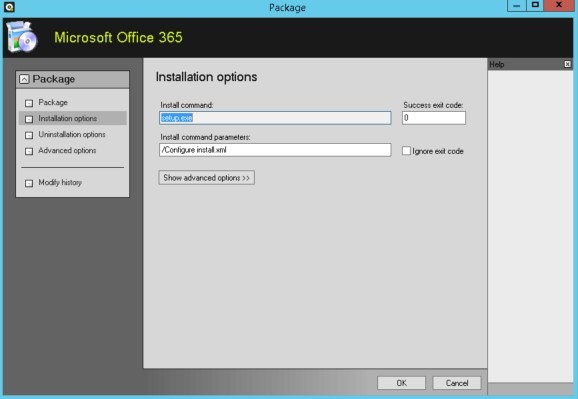
Install Command Parameters:
/Configure install.xml
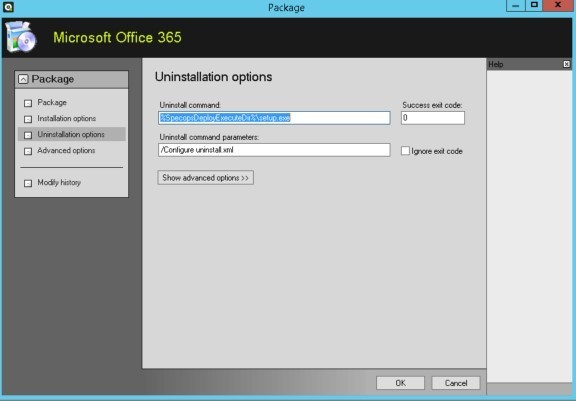
Uninstall command:
%SpecopsDeployExecuteDir%\setup.exe
Uninstall Command Parameter:
/Configure uninstall.xml
Create a Target – in my example I created a Target Called Microsoft Office 365 pointing to two criteria. The first criteria is for a group I called Office 365, the second criteria is for a group called Office 2016 where I chose Toggle not as shown in the picture.

This means that we cannot have a machine with both Office 2016 (MSI) and Office 365 (Click-and-Run) on the same machine. Why? This is because you cannot have a Click-and-Run application and a MSI installation from the same generation on a machine. For example, if you have Office 2013 (MSI) installed then this Click-and-Run Office 365 (2016) will work together.
Also you cannot have 2 Click-and-Run applications like Office 2013 and Office 365 (2016) on the same machine either.
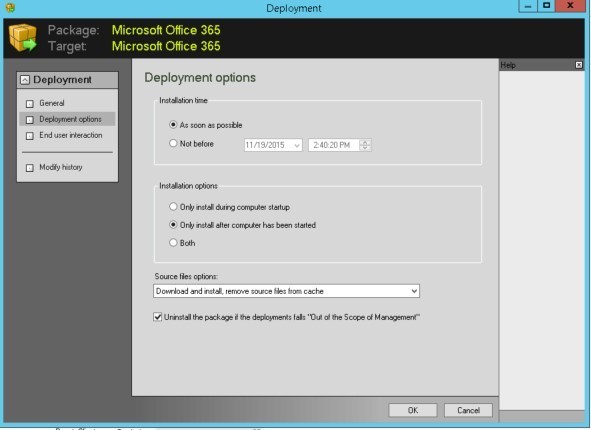
The last part is to create a deployment, make sure you tick the box Uninstall the package if the package falls “Out of the Scope of Management” in the deployment options tab.
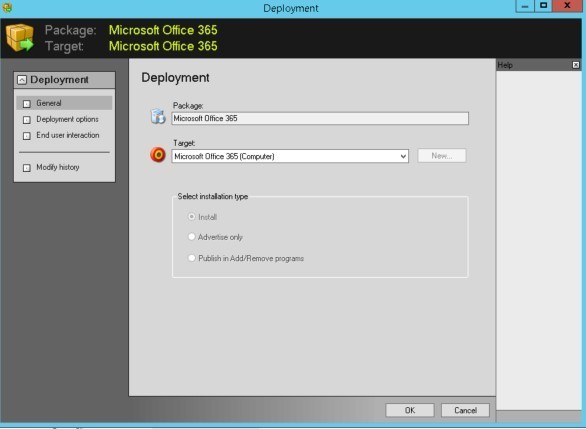
Now you are able to deploy Office 365 with the help of Specops Deploy.
Happy deployment!