
How to create a bypass policy using a fine-grained password policy
Fine-Grained Password Policies are a way to assign different Microsoft password policies to different users, and they override the Default Domain Policy:
Step 1
Create a security group that contains all desired users within Active Directory Users and Computers.
Note that when you create this group it should be a Global group. If you create it as a Universal or Domain Local, this group will not work once it is assigned to the Fine Grained Policy in Step 5.
Step 2
Go to Group Policy Management console and create the policy you will use for this policy and tag the policy where you would like it applied within the Active Directory structure:
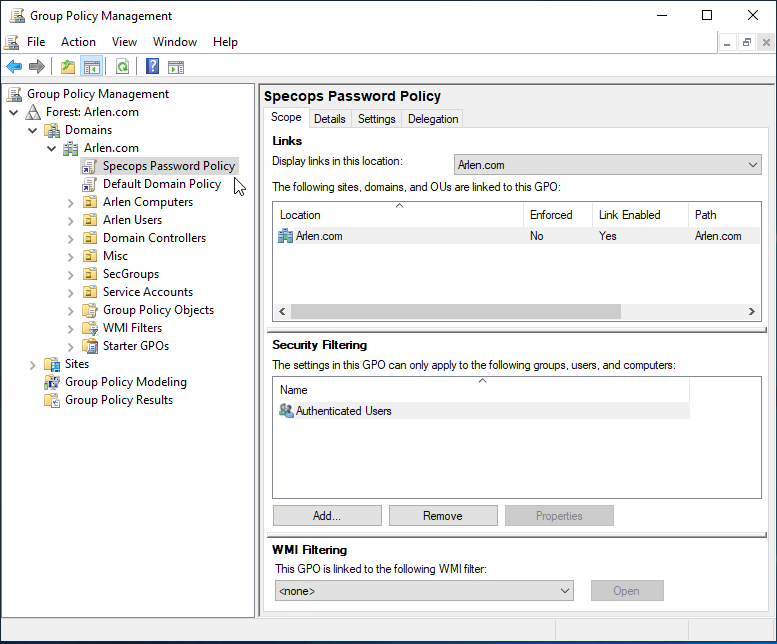
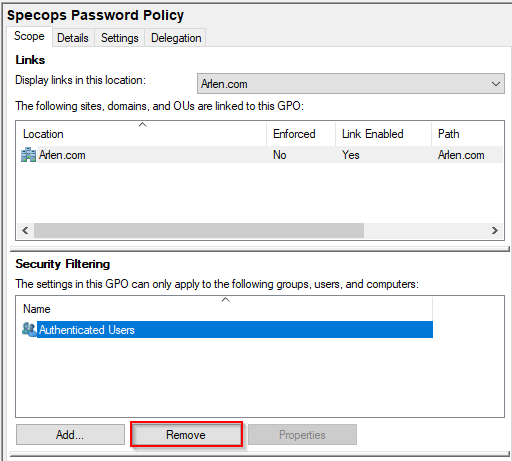
Step 3
Go to Group Policy Management Console and go to the scope tab on the policy you wish to modify and highlight authenticated users and select remove:
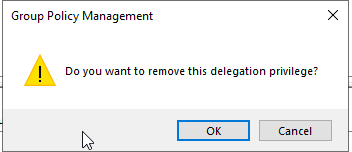
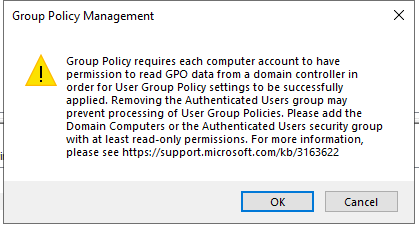
The following messages will pop up, which is normal as the next steps will correct the issue, so click Ok on both of these messages:
Step 4:
Add the security group that was created in Step 1:
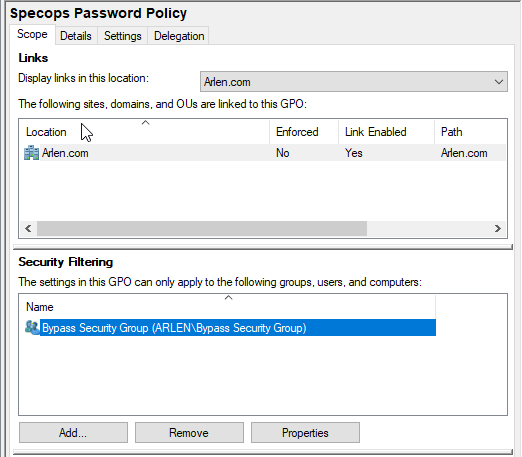
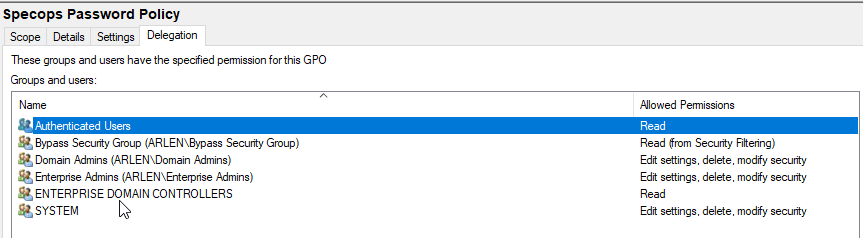
Then switch to the Delegation Tab and Add Switch to the delegation tab and add authenticated users with read access:
Step 5:
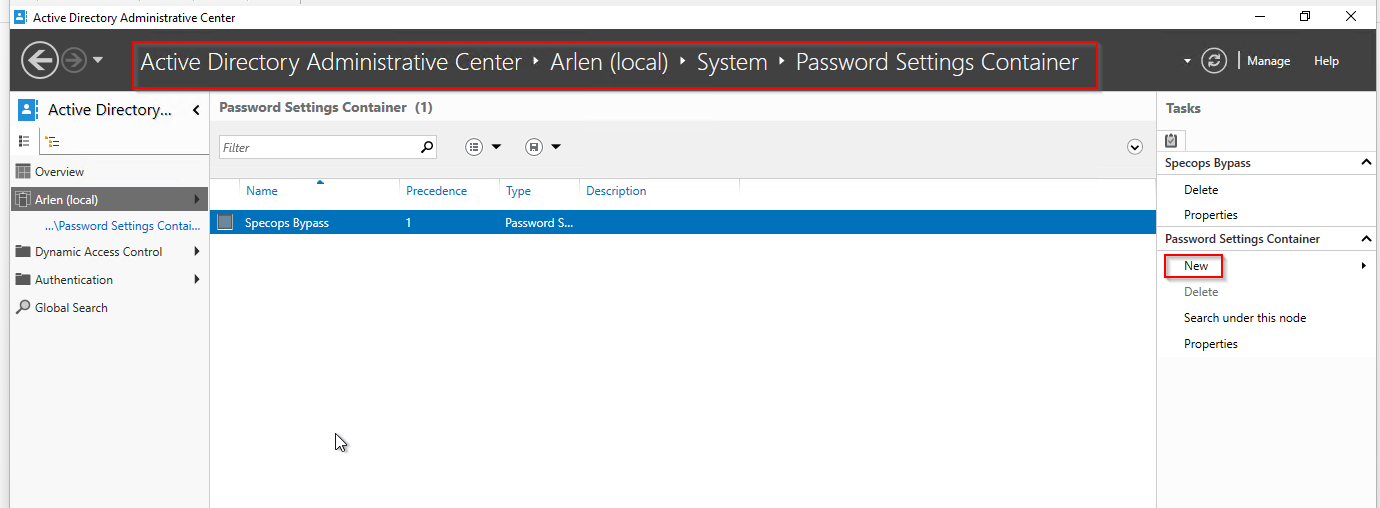
Open Active Directory Administrative Center>your domain (local)>system>password settings container then click New:
Create a Fine-grained password policy and disable all of the password settings (for example: minimum length off, complexity off, max age off, min age off), so that it will not interfere with the Specops policy. You’ll still need to enable lockout settings. Apply the FGPP to the same security group.

For more info on creating Fine-grained password policies click here.
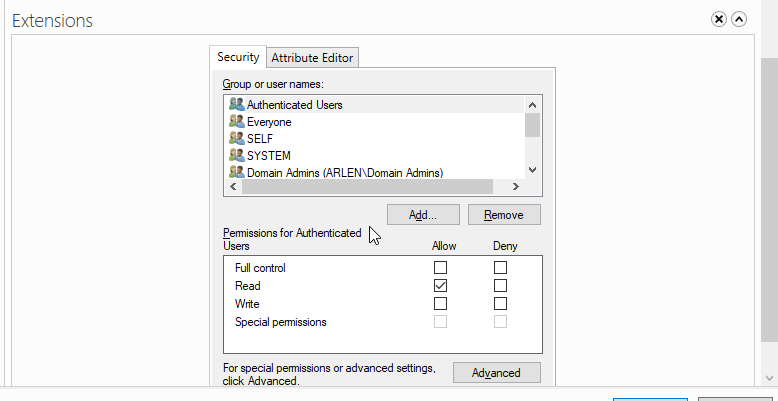
Once the security group is added to the “Directly Applies to” section, you will need to add Authenticated users to have read access to the policy as well under the Extensions section, which will show up after you create the settings and select OK and then re-launching the the FGPP.
Step 6:
Launch Password Policy Domain Administration and follow the instructions here and use the existing GPO that was created in Step 2.
You will also see this in your policy once implementing, which is OK to ignore in this case:
