This website uses cookies to ensure you get the best experience on our website. Learn more

How to: become the LOCAL SYSTEM account with PsExec
Table of Contents
If you are an administrator using Specops Deploy, you may have had the following experience: an application can be deployed without any problems when you are trying it on your local machine but when you try to deploy it you can’t seem to get it to work. This blog post might shed some light on your issue.
When an application is deployed using Specops Deploy, LOCAL SYSTEM is the account performing the installation. To ensure that your application is installed in the exact same way as Specops Deploy App, you need to act as the LOCAL SYSTEM account. To do this I recommend a little tool from Sysinternals called PsExec.exe
- Download PsTools from https://download.sysinternals.com/files/PSTools.zip
- Unzip the content and copy PsExec.exe to C:\Windows\System32
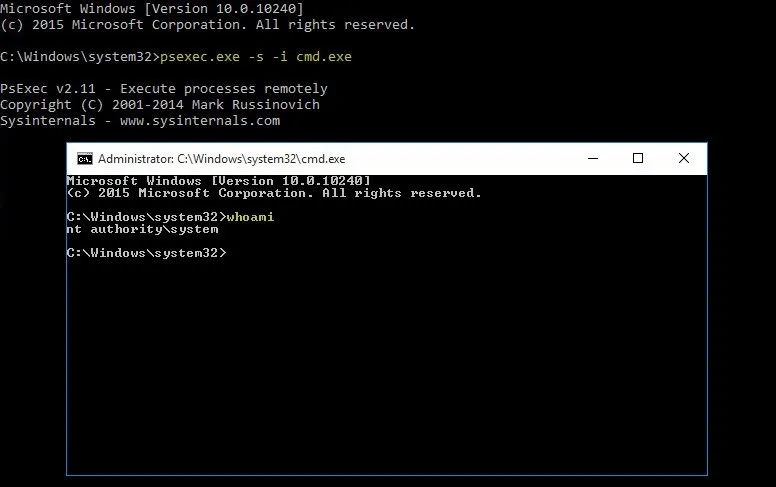
- Open a Command Prompt as admin and enter the command below:
PsExec.exe -s -i cmd.exe
By using PsExec.exe you will open the new Command Prompt in the System Context and the account doing all the operations will be the LOCAL SYSTEM account. This is the same account Specops Deploy App uses when installing applications.
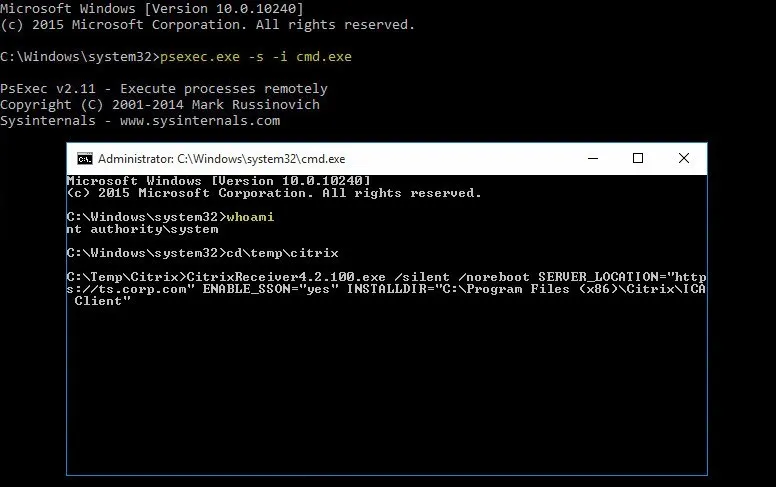
In the Command Prompt opened as LOCAL SYSTEM so that you can test your installations before you move them into Specops Deploy.
In other words, this is the perfect way to test your installations. There is no way to get closer to how Specops Deploy App is deploying software to the machines in your network.
(Last updated on April 30, 2025)


