This website uses cookies to ensure you get the best experience on our website. Learn more
Customize the Windows 10 start menu
Table of Contents
If you are ready to install Windows 10, stop for a minute to find out how you customize the Windows 10 start menu. You will save yourself time and avoid a major hassle for your end users. We love Windows 10, but not the start menu, which still contains many icons that most users do not use.
Are you looking for a way to customize the Windows 10 start menu from this . . .
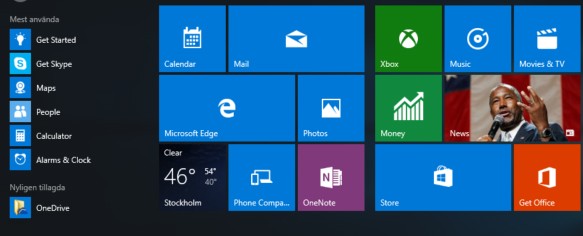
. . . to this?
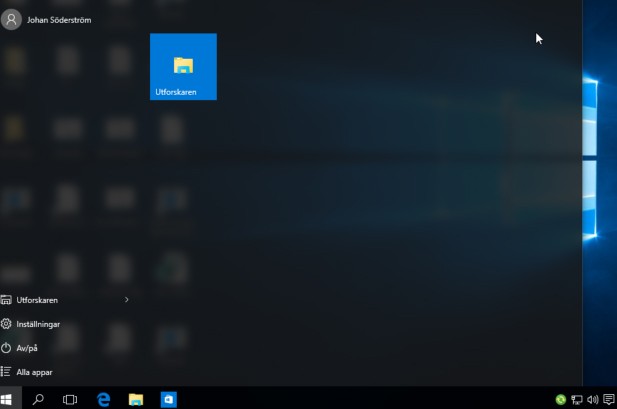
Then keep on reading . . .
You need to have Specops Deploy 6.0 installed to be able to deploy Windows 10. This solution works on both LTSB and Windows Edge version of Windows 10 Enterprise.
Being able to customize the Windows 10 start menu only works on new accounts that login to the computer. It will not change an account profile that is already logged in to the machine. That’s why this is so useful with a deployment solution.
Ok, let’s get started!
First, you need to customize the Windows 10 start menu the way you want it to look, by removing all unnecessary applications from the start menu. In my example I removed everything except the File Explorer to keep the start menu clean.
Now comes the fun part – exporting your start menu layout.
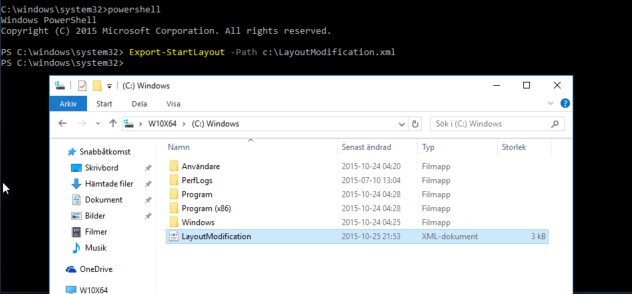
Open up an elevated command prompt on your machine and run the command powershell.exe
Type in: export-startlayout –path C:\LayoutModification.xml hit enter
Copy this LayoutModification.xml file to your deployment servers Deployment Repository, in my case it’s:
D:\Specops\Deploy\DeploymentRepository\Scripts\Misc\StartLayout\W10
NOTE – You need to create the Misc\StartLayout\W10 structure in the scripts folder yourself

Create a PowerShell file called Startlayout.ps1 as picture above in the same folder.
The last step is to add a PowerShell script to your task sequence in MDT – remember to mount and change your Deployment Repository and not the Deployment Share in the deployment workbench. Also make sure you change the right task sequence to make this tweak work.
In section State Restore, select Custom Tasks, click Add and create a General\Run PowerShell Script and call it StartLayout.
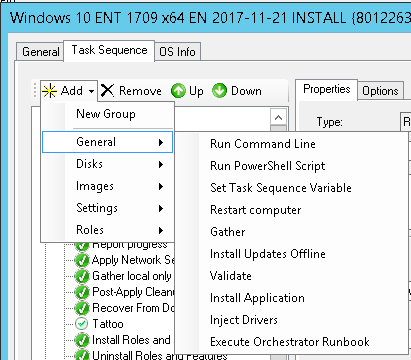
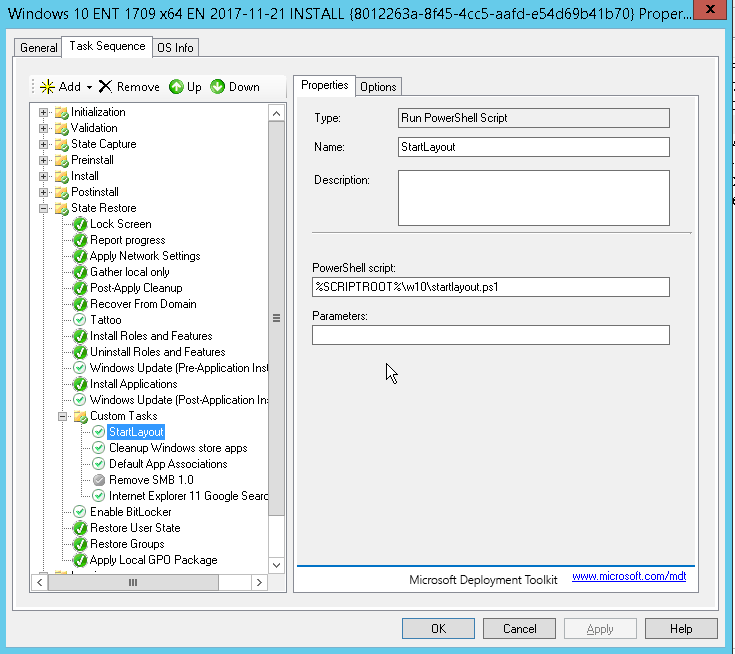
Now all you have to do is to Publish this in Specops Deploy OS and deploy a machine. When you login to that machine you will see that your start menu looks a lot cleaner.
Happy Deployment!
(Last updated on November 5, 2024)


