
Moving Specops Authentication Mobile Numbers to a Custom Attribute
By default, when a user is enrolled in the mobile code (SMS) identity service, the mobile number entered by the user is stored in the mobile attribute on the user’s account in AD. In some organizations this may not be ideal, as the phone number becomes visible to users in the other applications (e.g. Exchange/Office 365) or may interfere with other 3rd party applications that reference users’ mobile numbers in Active Directory.
The Specops Authentication platform supports storing users’ mobile numbers in a custom Active Directory attribute. This article will review the steps required to configure a custom mobile attribute:
Identify an Attribute to Use
The default attribute used by Specops Authentication is the Mobile Number attribute, which is simply mobile if you look in AD. However, Specops Authentication can store the mobile number in any writable attribute on a user account in order to avoid conflicts with other systems. It is entirely up to each customer which attribute is appropriate in their environment. Some common choices include:
- otherMobile
- Pager
- ExtensionAttribute[1-15]
For the purposes of this guide we will use extensionAttribute15 as our custom mobile attribute.
Grant your Gatekeepers Write Access to the Attribute
Specops Authentication automatically grants your Gatekeeper service account(s) read/write access to the default mobile attribute for users contained within each of your configured Active Directory Scopes (along with permissions to write all enrollment data, reset passwords, etc.). When preparing to specify a custom mobile attribute, you must manually delegate write access to that attribute.
Identify the Gatekeepers group
- Launch Specops Authentication Gatekeeper Administration from the start menu on your Gatekeeper server.
- Navigate to the Active Directory Settings tab on the left. Take note of the highlighted values.
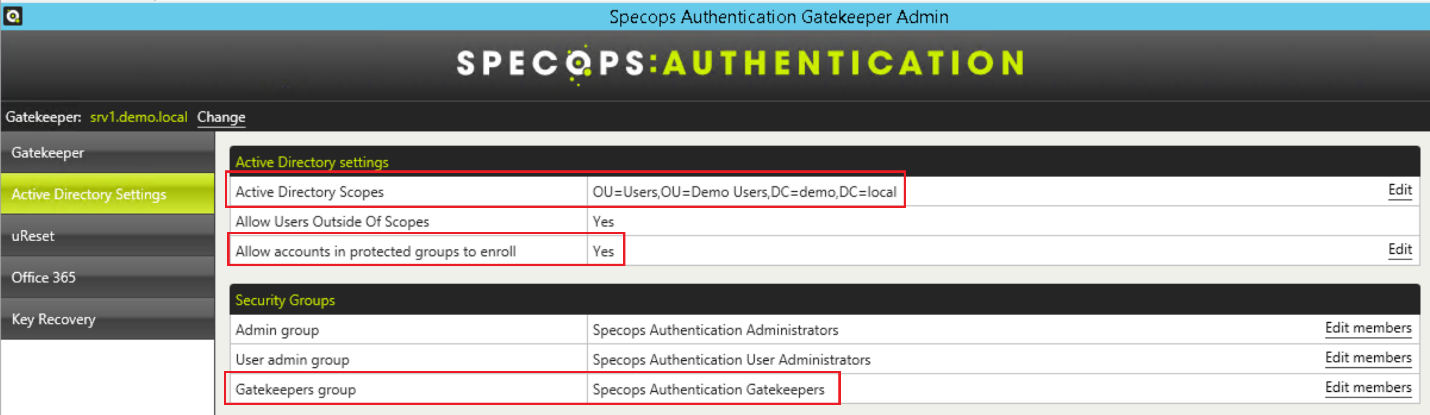
- Active Directory Scopes – these are the areas of your AD tree to which you have granted the Gatekeeper access to user account
- Allow accounts in protected groups to enroll – this indicates if you have granted access for your AD administrative accounts (e.g. Domain Admins) to enroll. These accounts have their own permissions that are not inherited from the OU structure
- Gatekeepers Group – this group is used for all service account delegation in AD. The service account for each Gatekeeper server is added to this group during the Gatekeeper installation process. Its default name is “Specops Authentication Gatekeepers” but it can be renamed.
Grant the Gatekeepers Group Read/Write Access to the Custom Attribute on User Accounts
Using Active Directory Users and Computers
- Navigate to the first scope OU/container, Right-click and chose ‘delegate control’

- Click Next

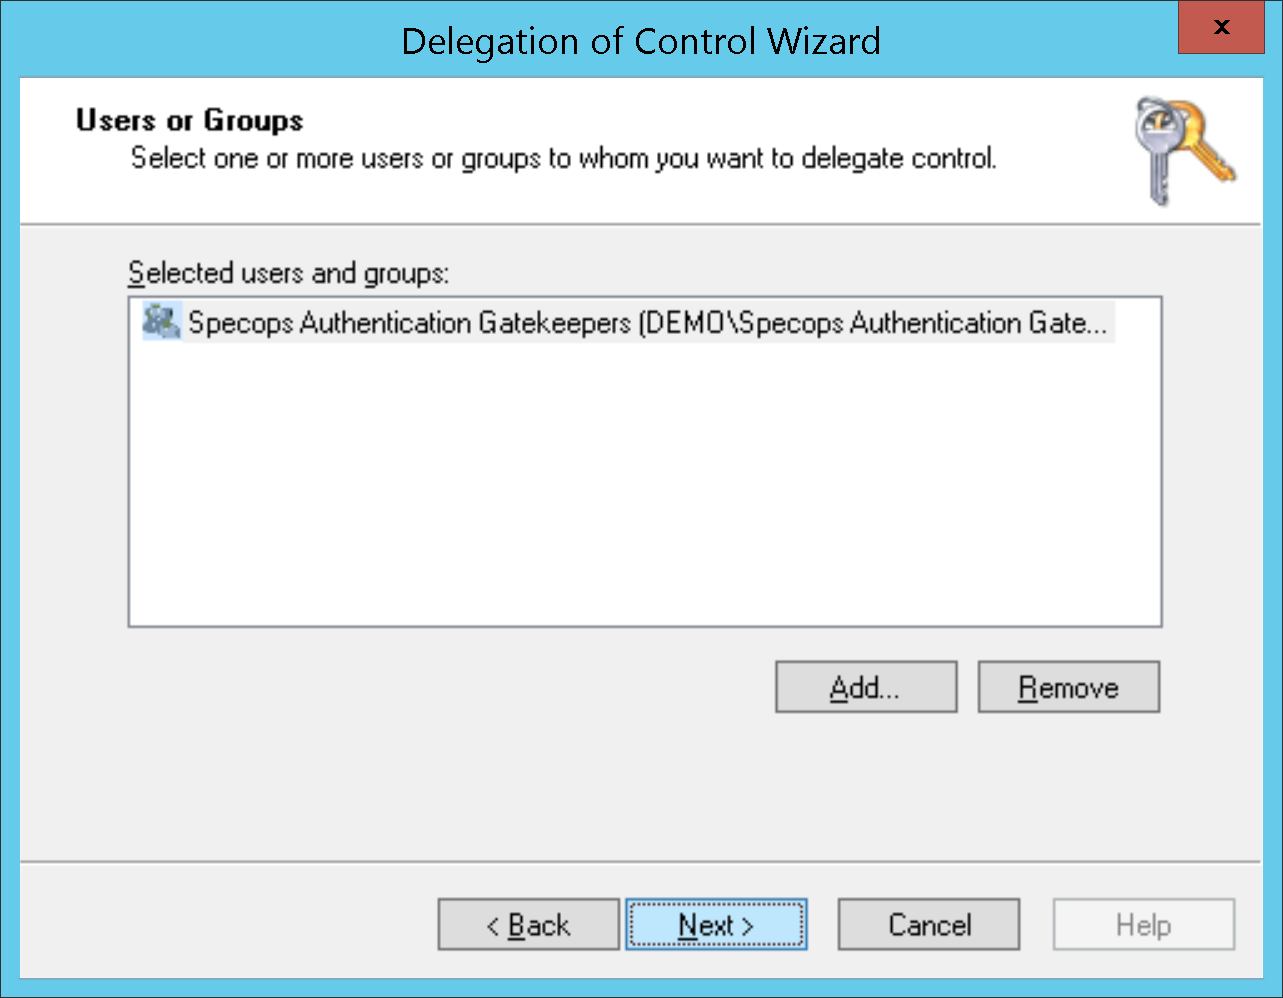
- Click Add, select your Specops Authentication Gatekeepers Group and click Next
- Select Create a custom task to delegate and click Next.

- Select Only the following objects in the folder and check User Objects. Click Next.

- Check Property-specific and then check Read and Write permissions for your desired custom mobile attribute. Click Next.

- Confirm the results and click Finish

- Repeat this section for each defined Active Directory Scope
Using DSACLs
- Open an admin command prompt on a domain controller (or any server with the Active Directory admin tools installed)
- Run the following command for the first AD scope, subbing in your scope distinguished name, domain\Gatekeepers group name, and desired custom attributes:
dsacls "<distinguished-name-of-OU>" /I:S /G "<DOMAIN>\<Gatekeepers-Group-Name>:RPWP;extensionAttribute15;user"
For example:dsacls "OU=Users,OU=Demo Users,DC=demo,DC=local" /I:S /G "SPECOPSDEMO\Specops Authentication Gatekeepers:RPWP;extensionAttribute15;user" - Repeat for each defined Active Directory Scope
Grant the Gatekeepers Group Read/Write Access to the Custom Attribute on Admin Accounts
If Allow Accounts in Protected Groups to Enroll was selected, grant similar access to the AdminSDHolder object in your domain. Use dsacls from an admin command prompt, again replacing the domain path and domain/group name with your own, e.g.:
dsacls "CN=AdminSDHolder,CN=System,DC=demo,DC=local" /G "SPECOPSDEMO\Specops Authentication Gatekeepers:RPWP;extensionAttribute15;" Copy Existing Enrollments
When changing the mobile attribute after users are enrolled, it may be desirable to copy the existing mobile numbers to your custom attribute in order to prevent the need for users to re-enroll. The easiest way to do this is with the Active Directory PowerShell module, available on any domain controller or member server/workstation with the Active Directory admin tools installed:
Get-ADUser -LDAPFilter '(mobile=*)' -searchBase '<SCOPE_DN>' -Properties mobile, <CUSTOM_ATTRIBUTE> |Select-Object * | ForEach-Object {Set-ADObject –Identity $_.DistinguishedName ` -Replace @{<CUSTOM_ATTRIBUTE>=$($_.mobile)}}For Example:
Get-ADUser -LDAPFilter '(mobile=*)' -searchBase 'OU=Users,OU=Demo Users,DC=demo,DC=local' -Properties mobile, extensionAttribute15 |Select-Object * | ForEach-Object {Set-ADObject –Identity $_.DistinguishedName ` -Replace @{extensionAttribute15=$($_.mobile)}}A more detailed write-up on this step is available here. Please note these steps only copy the mobile attribute; if you need to clear the attribute this should be done manually after the steps in this article are complete.
Configure Specops Authentication to use a Custom Mobile Attribute
- Launch the Specops Authentication Admin pages (the link is available from the Gatekeeper administration tool) and log in as a member of the Specops Cloud Admins group:

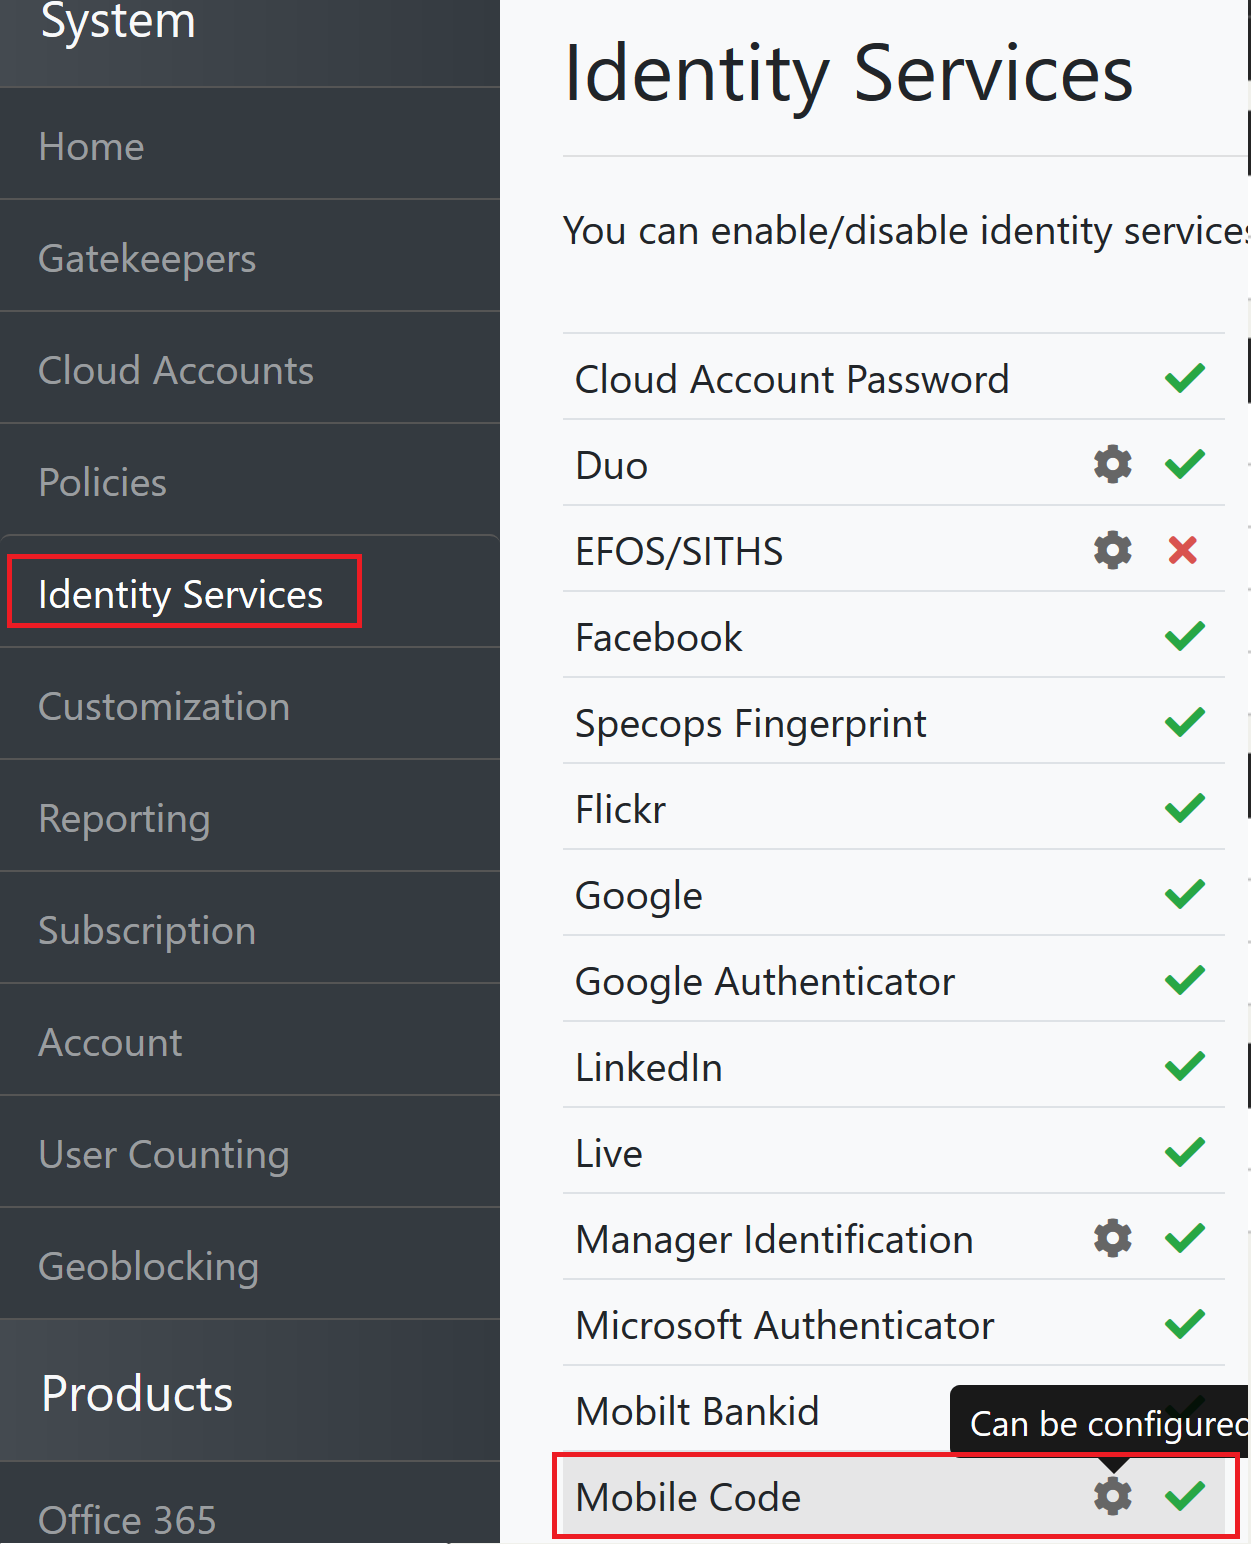
- Choose Identity Services on the left, then click the cog next to Mobile Code
- Update the Attribute name in AD field and click Save

- Finally, test by enrolling a new user and confirming the custom attribute is updated with the mobile number in Active Directory.