
This website uses cookies to ensure you get the best experience on our website. Learn more

Windows 7 Screen Resolution defaults to 1024×768 – Alternate/proper way to do it
Table of Contents
A colleague asked me why I didn’t use the UI to change Screen Resolution in my previous post?
Well, I usually do. And I intended to show how to do it in that post, but there is a minor problem with doing it in MDT 2010. If you try to edit a X86 image on a X64 computer, you will get a error. And I felt I didn’t want to complicate things with solving that first. So I showed how to edit the unattended file manually.
But here is a solution to that problem (written by my colleague Jeanette some time ago) and a complete walk-through on how to do it from the UI, which is how I prefer to do it.
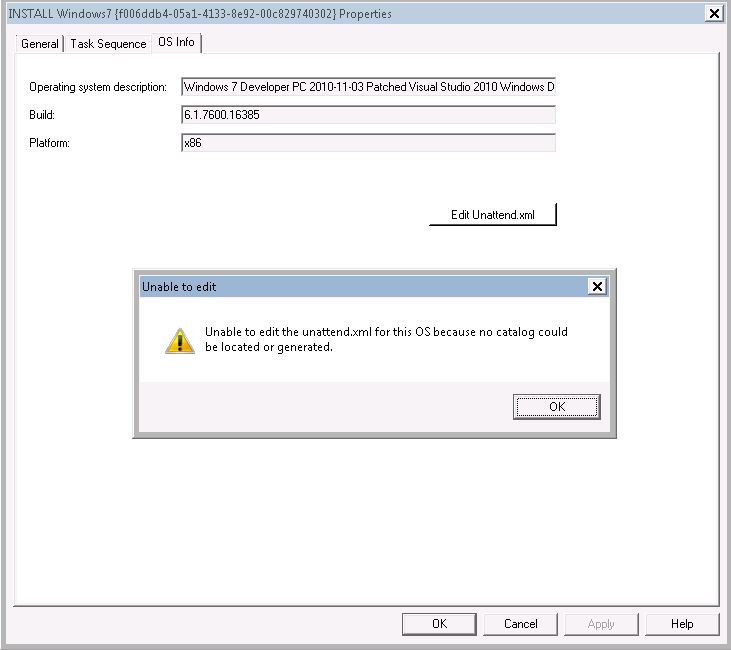
The error text you may get is is;
“Unable to edit the unattend.xml for this OS because no catalog could be located or generated.
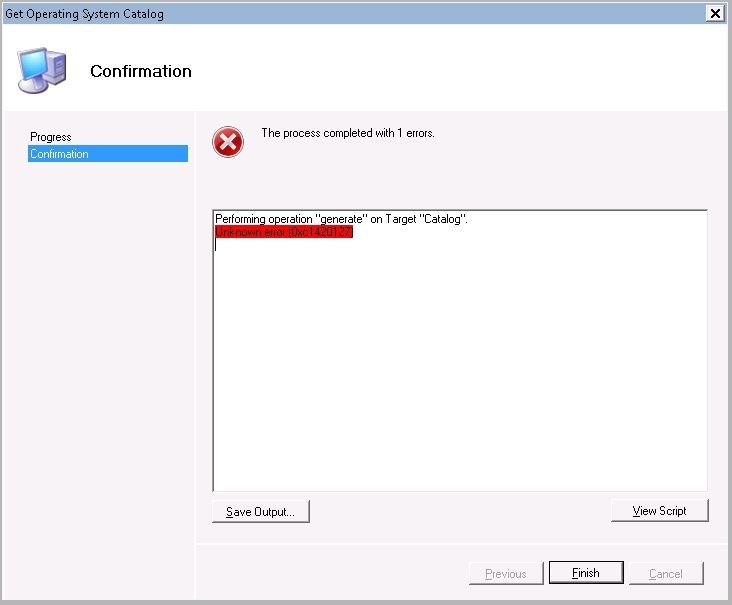
And you may sometimes also get this error;
Performing operation “generate” on Target “Catalog”.
Unknown error (0xc1420127)
As mentioned above, it’s because you are trying to edit a x86 image on a x64 OS.
The solution is to just generate the missing Catalog file that MDT doesn’t manage to create for you.
You can either install MDT on a x86 computer, and open the Unattended file from there once, to generate it or use this workaround.
- Go to MDT WorkbenchTasksequences (remember to use DeploymentRepository)
- For each Operating System (source) that you have imported, there is two corresponding TaskSequences. For example “INSTALL Windows7” and “CAPTURE Windows7”.
- Make a note for the ID of you x86 Captured Image “CAPTURE Windows7” (762286D6-etc in this example).
- Navigate to MDT WorkbenchOperating Systems
- Right click on your Operating System that you used to install the Captured machine with, and make a note of the GUID in the Path field. (63e5d2e0-etc in this example)
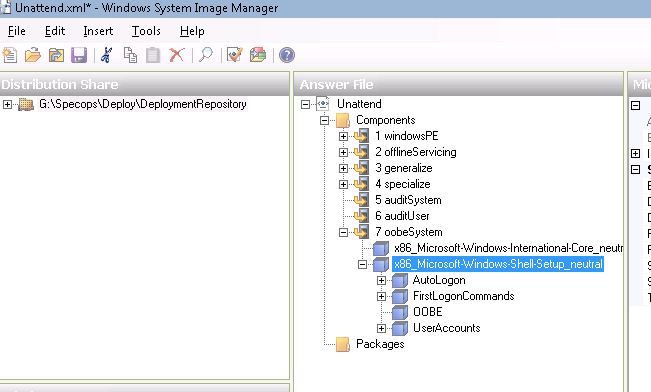
- Open Explorer and locate the matching Folder in your DeploymentRepository.
drive:SpecopsDeployDeploymentRepositoryOperating Systems{guid from step 5}sources
In the Source folder, locate the CLG-file, it’s usually called something like Install_Windows7 Enterprise.clg - Copy that file from the Original Source folder, to your captured images folder.
drive:SpecopsDeployDeploymentRepositoryOperating Systems{guid for captured image}
To find the GUID of your captured image, do exactly as in Step 5 but for your Captured image. - Now, rename the CLG file in your Captured Image folder so it contains the GUID from Step 3.
With exactly this syntax, here is the file for this example.
Capture_762286D6-C03F-4C98-9134-BD7B17D0D766CDrive.clg
Notice that it has to be named Capture_{YOURGUID}CDrive.clg - You should now be able to edit the Unattended File via the GUI.
Just delete the Screen Resolution section under here to make Windows 7 dynamically set the screen resolution.

Note; you may need to install proper Graphics drivers (import into your Driver repository) to get the dynamic screen resolution to work correctly.
Last updated on November 6, 2024