
This website uses cookies to ensure you get the best experience on our website. Learn more
Office 2016 Silent Install with Specops Deploy
Table of Contents

Last updated on November 5, 2024
In this blog post, I will walkthrough how you can silently install Microsoft Office 2016 on machines on your network using Specops Deploy / App. To get started, you will need to run the Office Customization Tool, and create a new setup customization file for Office 2016, as per the below:
- Extract the Office 2016 source files to a share file server or DFS location that can be used with Specops Deploy.
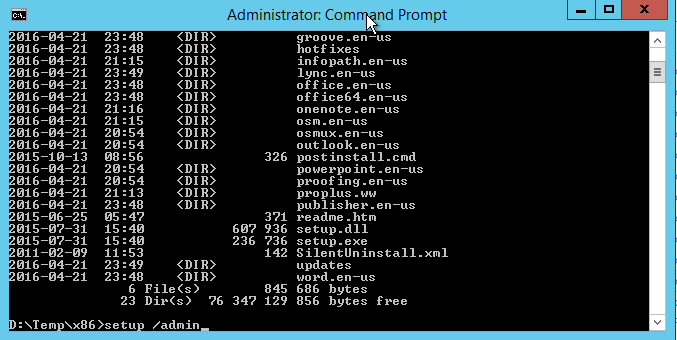
- Open a command prompt and navigate to the location containing the Office 2016 source files.
- Type
setup.exe /adminto launch the Microsoft Office Customization Tool.
- Configure Microsoft Office 2016 according to your needs:
– Select Install location and organization name from the left pane and enter your organization name.

– Select Licensing and user interface from the left pane, and enter the product key.
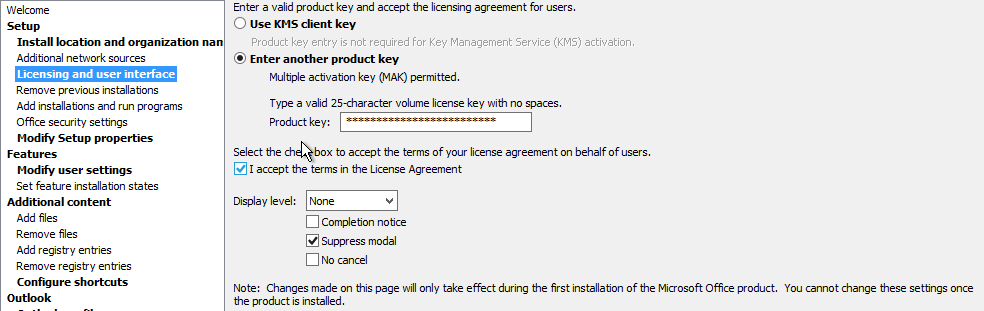
– Enable the I accept the terms in the License Agreement checkbox.
– Set the Display level to None if you want the setup to run silently.
– Enable the Suppress modal checkbox.
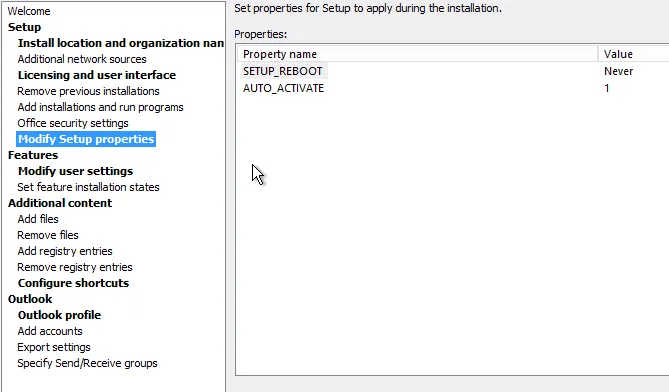
– You may want to modify additional settings and features so I recommend reading through the available options.
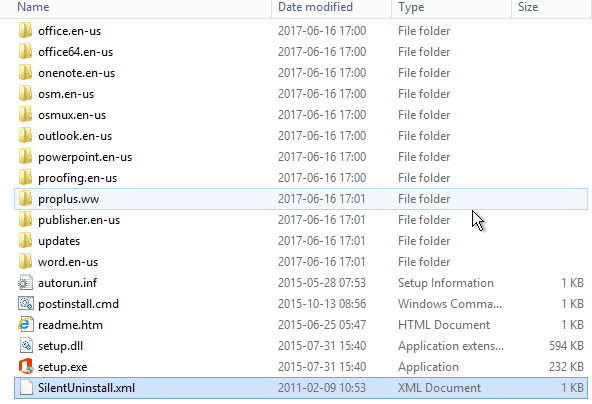
- When you have configured the desired settings, save the file in the “Updates” folder of your extracted Office 2016 installation files, and name it custom.msp.
- If you want to be able to remotely uninstall office, you will need to configure a SilentUninstall.xml file:
<Configuration Product="ProPlus"><Display Level="none" CompletionNotice="no" SuppressModal="yes" AcceptEula="yes" /></Configuration> - Save this SilentUninstall.xml file in the same folder as the Office 2016 setup.exe.
You now have all the ingredients required to create the Office 2016 Package in Specops Deploy App. - Open the Specops Deploy / App GPMC snap-in.
- Select Click here to deploy a package.
- Click New Package…
- Select Legacy package, and click OK.
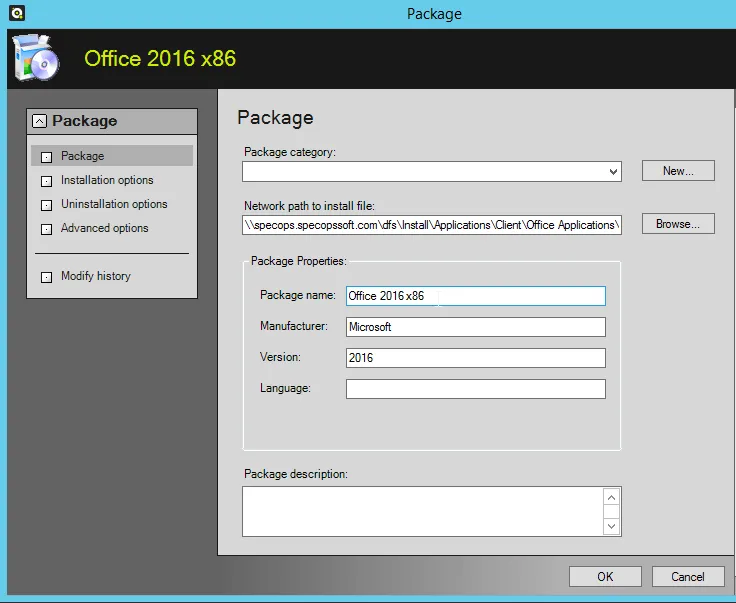
- Browse to the location of the file, and click Open.
Note: The path to the source files should be in the UNC format. - Verify that the Package Properties field has automatically been updated, and enter a description for the package in the text field.
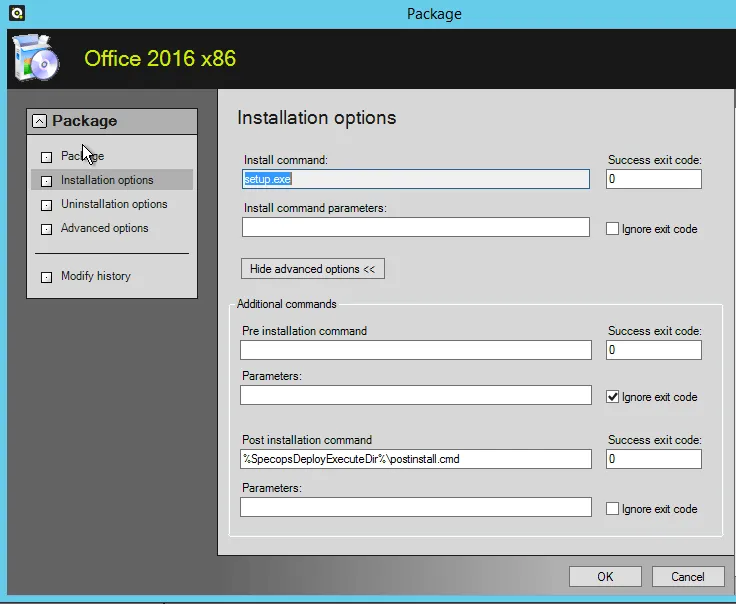
- In the navigation pane, select Installation options. If you saved your custom.msp into the Updates folder, then you do not need to specify any additional information here.
- In the navigation pane, select Uninstallation options.
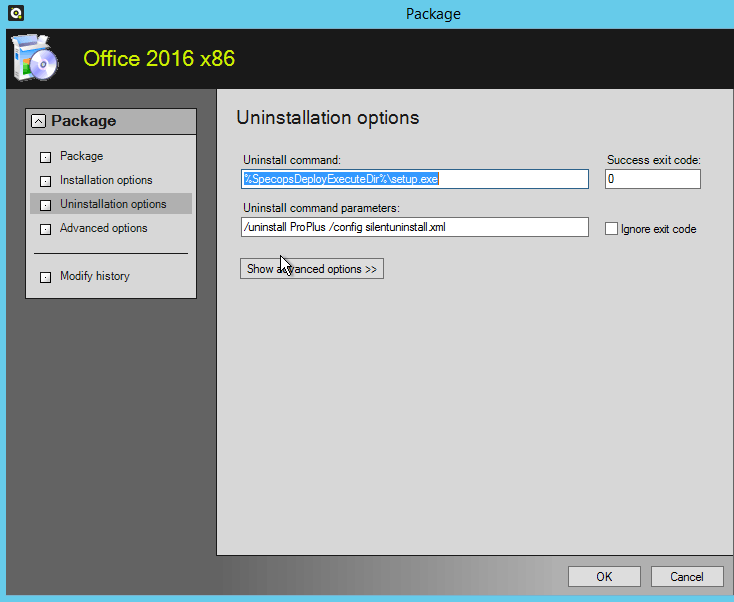
- In the Uninstall command text box, enter
%SpecopsDeployExecuteDir%\setup.exe - In the Uninstall command parameters text box, enter:
/uninstall ProPlus /config silentunistall.xmlNote: The following SilentUninstall.xml file should be placed in the same folder as the office setup.exe.
- Click OK.
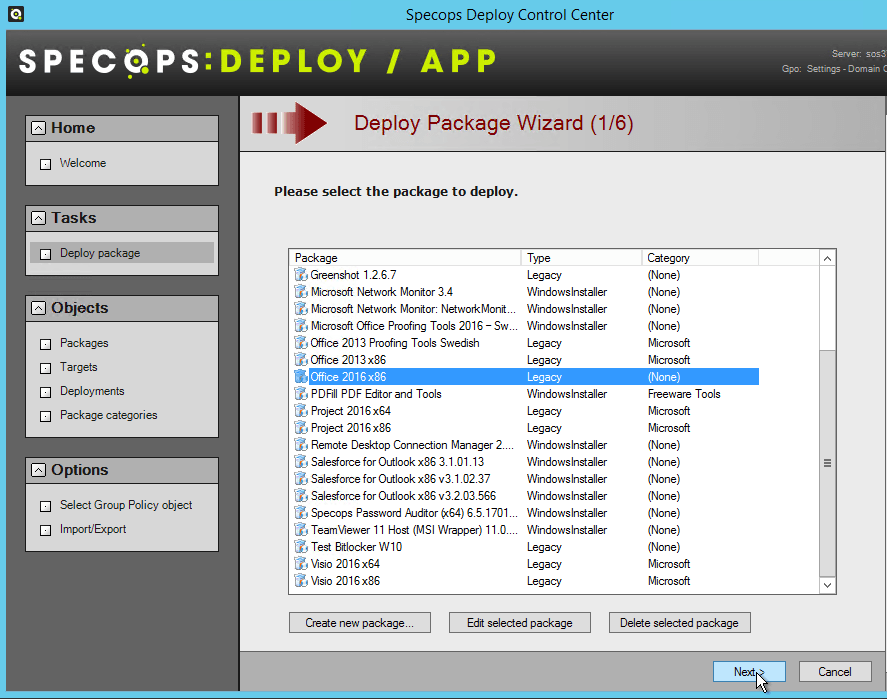
- In the new dialog box, select Office 2016 package, and click Next.
- Select an existing Target from the target drop-box, or click Create a new Target. If you are creating a new target you will need to:
– Enter a name for the target
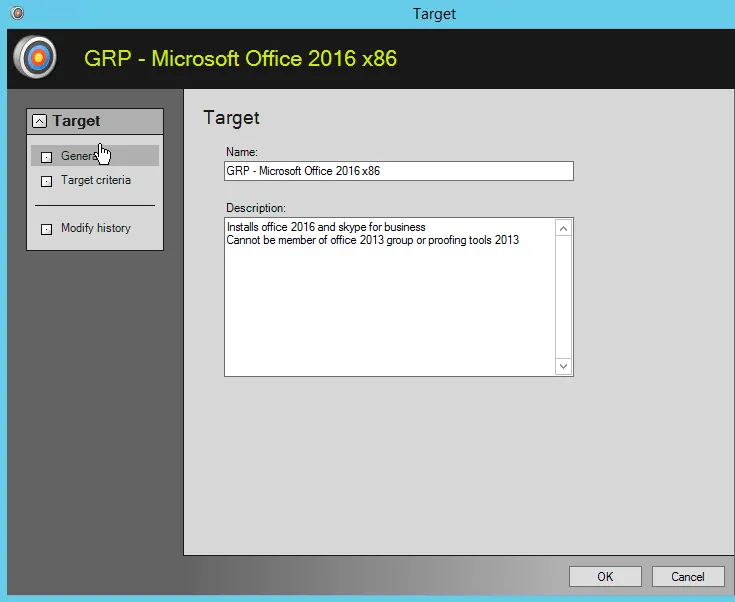
– In the navigation pane, select Target criteria. Specify the target criteria, and click OK. In the example below, we have based the Target on AD group membership. This is the most common and recommended way to target many applications.

- Select your Office 2016 Target, and click Next.

- On the third page of the Wizard, select:
– Download and install, leave source files in cache
– Uninstall the package if the deployment falls “Out of Scope of Management”
– Note: The second option means that if a computer is removed from the Office 2016 group, Office 2016 will be removed from that computer.
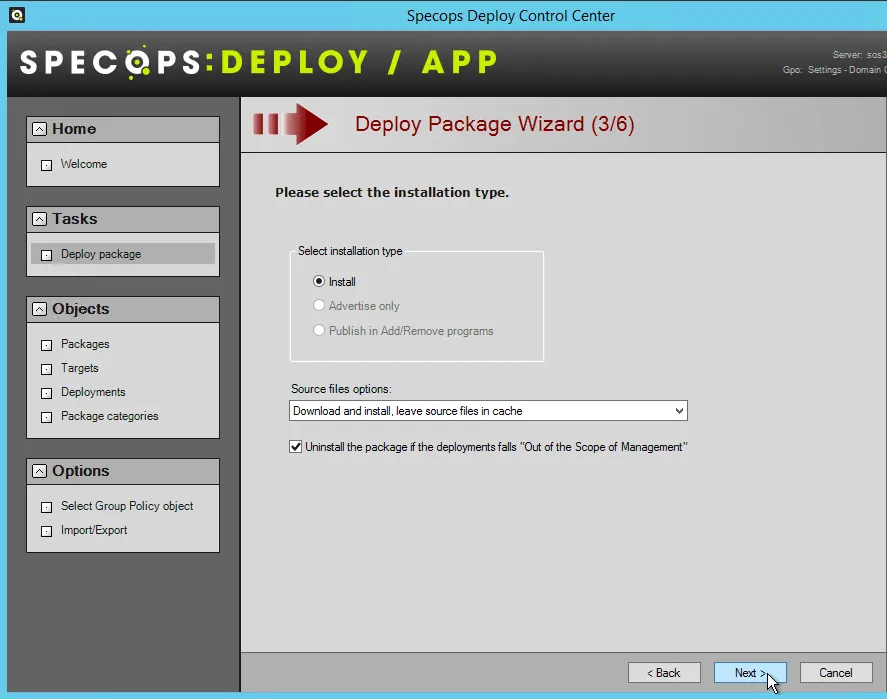
- Click Next to continue.
- Select the date/time that Office 2016 should be deployed, and also if it should be deployed as the computer starts or if it should be installed at the next GP refresh after the user has logged in.
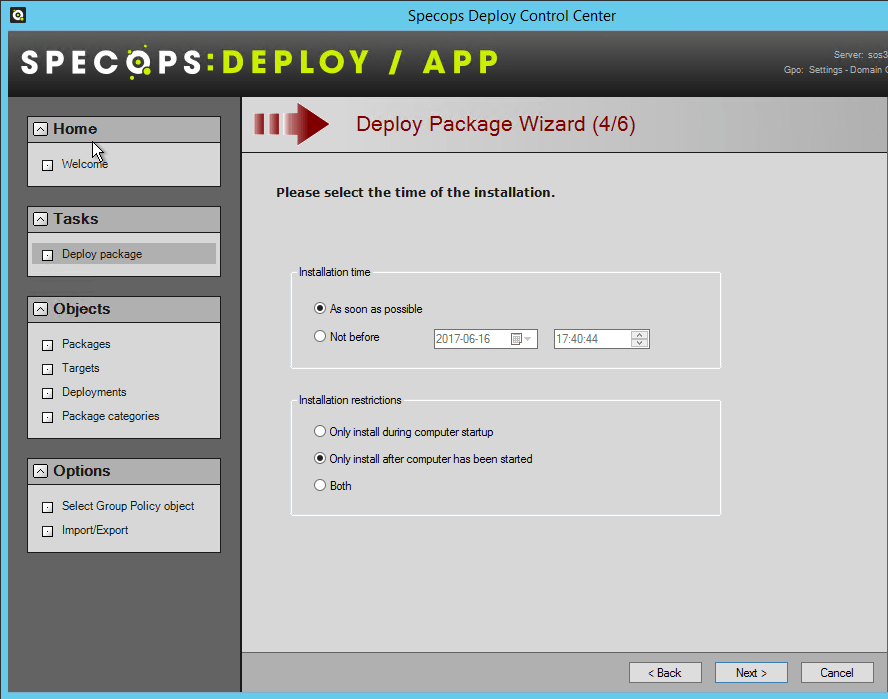
- Select your user interaction options.
- Click Finish to save your settings.
All you need to do now is add a test computer to the group you specified as the Target, wait for group policy to refresh (or run a gpupdate), and Office 2016 will be installed onto that machine. We would then recommend that you remove that machine from the group, run another GPupdate on the machine, and confirm that Office 2016 is silently removed.
Want to deploy Office 365? See how Specops Deploy can help.
Last updated on November 5, 2024